Note: I will probably do some reviews of these in the future, which is why I don't want to go too in-depth with each app. I will post examples that I have used in the past. This is why you'll see sometimes I only have one example to offer up.
I'm going to stick with an Android perspective since it's what I know and use.
Activity Tracking
 |
| Strava screen. No map as this activity was indoors (no GPS). |
It also keeps track of those attributes for you. It does analysis on your ride. It makes it easy to share on social media or connect into the other apps. Some have interesting features like off-road maps, auto-pausing, camera shots included into your ride, turn by turn navigation, competitive leader boards and so on. Many have feature-rich web sites which complement the application.
Below are examples of software you can do this with on Android.
Ride With GPS (free but requires monthly subscription for premium)
Strava (free but requires monthly subscription for premium)
Map My Ride (free but requires monthly subscription for premium)
Wahoo Fitness (free but only guaranteed compatibility with Wahoo products, which are only guaranteed with iPhones. They have some Android support).
Zombies, Run (paid + paid upgrades).
Food Tracking
An important aspect of diabetes management is watching what you eat. So when I started to track what I ate, I looked for an app that could log food easily. Like being able to scan a bar code to speed up entering in details or being able to repeat something I've logged before. Things like being able to add your own recipes and foods are a big bonus.
A good food tracker can assist you with your diet. You should be able to set goals such as weight or other parameters, for example waist size. A good food tracker will help you watch whatever you need to; watching calories is great for dieting but watching carbohydrates is important for diabetics.
One function that is really important to me is a food tracker that will talk to my activity tracker. That way your diet can be adjusted according to your exercise.
A popular free food tracker many people use is MyFitnessPal.
To be honest though I've been slacking in my food tracking. At a certain point I was riding my bicycle so frequently that I was burning calories at a crazy rate. But lately things have slowed. I need to get back on this particular wagon.
People Tracking
No, this isn't a lesson in stalking or a primer for a spy. I'm talking about a more voluntary sort of tracking. While most people would eschew others tracking them, this is a good idea for a few reasons:
In the past I've tried using the built-in "meet up" functionality that's already found in subscription-based activity trackers. But it usually requires a subscription and the other person has to use the same app. And its hard to just ride up and meet with friends when you live way out in the sticks. Lately I've been using Glympse. I like it because you can send anyone a link via email and you control how long it will track you for.
Weather Tracking
One of the most important apps I use. It tells me how to dress properly for a bicycle ride. It will tell me how much or how little clothing I need to wear. I hate riding in the rain so it also tells me when I need to dust off the trainer or stationary bike. Here are several Android favourites:
The Weather Channel
The Weather Network
Accuweather
WeatherBug
Miscellaneous
So you're out riding your bicycle and you endo (flip over your handlebars, "end over end" or endo). You discover there's no reception where you are. What do you do? Well, there's an app for that! I keep around a first aid app (I use St John's Ambulance First Aid for Cyclists). A repair app would come in handy as well but I haven't found one I like yet. Best would be any application that works offline in case the area has no cellular reception.
Below are examples of software you can do this with on Android.
Ride With GPS (free but requires monthly subscription for premium)
Strava (free but requires monthly subscription for premium)
Map My Ride (free but requires monthly subscription for premium)
Wahoo Fitness (free but only guaranteed compatibility with Wahoo products, which are only guaranteed with iPhones. They have some Android support).
Zombies, Run (paid + paid upgrades).
Food Tracking
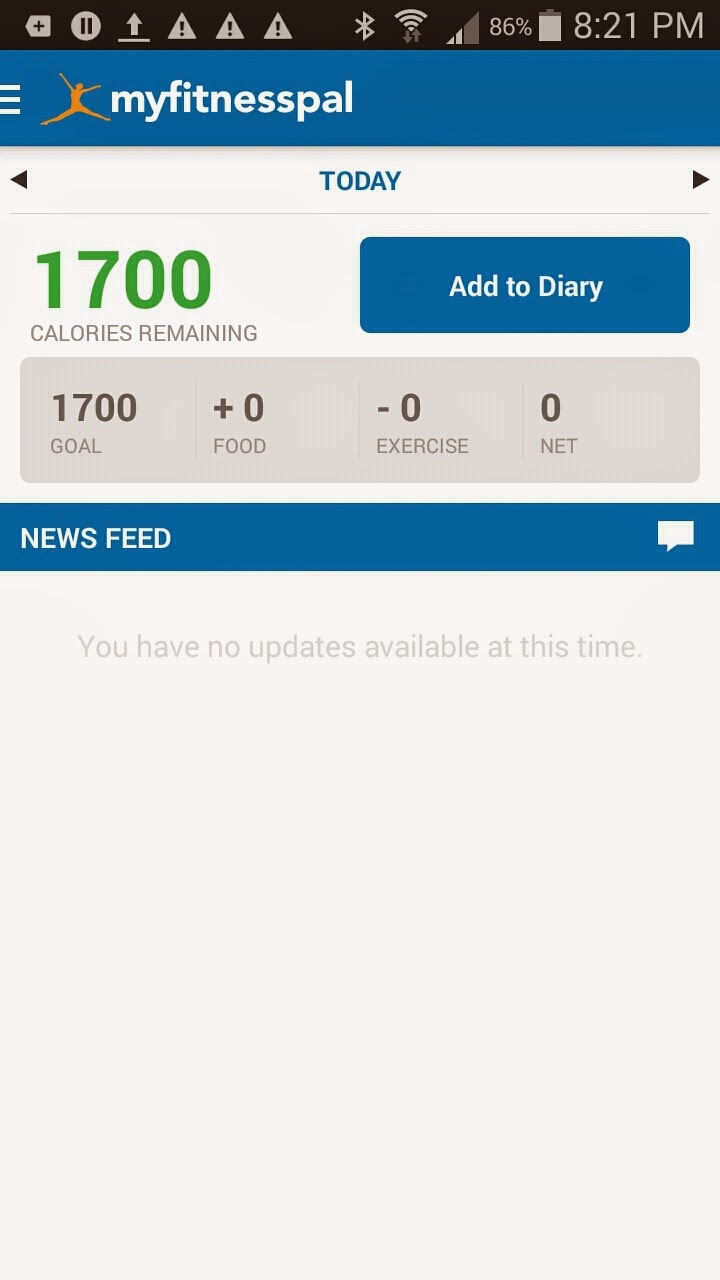 |
| MyFitnessPal |
A good food tracker can assist you with your diet. You should be able to set goals such as weight or other parameters, for example waist size. A good food tracker will help you watch whatever you need to; watching calories is great for dieting but watching carbohydrates is important for diabetics.
One function that is really important to me is a food tracker that will talk to my activity tracker. That way your diet can be adjusted according to your exercise.
A popular free food tracker many people use is MyFitnessPal.
To be honest though I've been slacking in my food tracking. At a certain point I was riding my bicycle so frequently that I was burning calories at a crazy rate. But lately things have slowed. I need to get back on this particular wagon.
People Tracking
 |
| Glympse |
- Riding somewhere dangerous (environmental, wildlife, maybe its just the bad end of town).
- Have health issues where you might need immediate assistance.
- Live in an area with other cyclists where you might want to meet up with each other while riding.
- Riding alone. Even if it's somewhere safe. Like winter biking around my house. If I were to slip and hit my head, I could get knocked out and freeze to death.
In the past I've tried using the built-in "meet up" functionality that's already found in subscription-based activity trackers. But it usually requires a subscription and the other person has to use the same app. And its hard to just ride up and meet with friends when you live way out in the sticks. Lately I've been using Glympse. I like it because you can send anyone a link via email and you control how long it will track you for.
Weather Tracking
 |
| The Weather Network |
The Weather Channel
The Weather Network
Accuweather
WeatherBug
Miscellaneous
 |
| St Johns Ambulance First Aid for Cyclists |


